


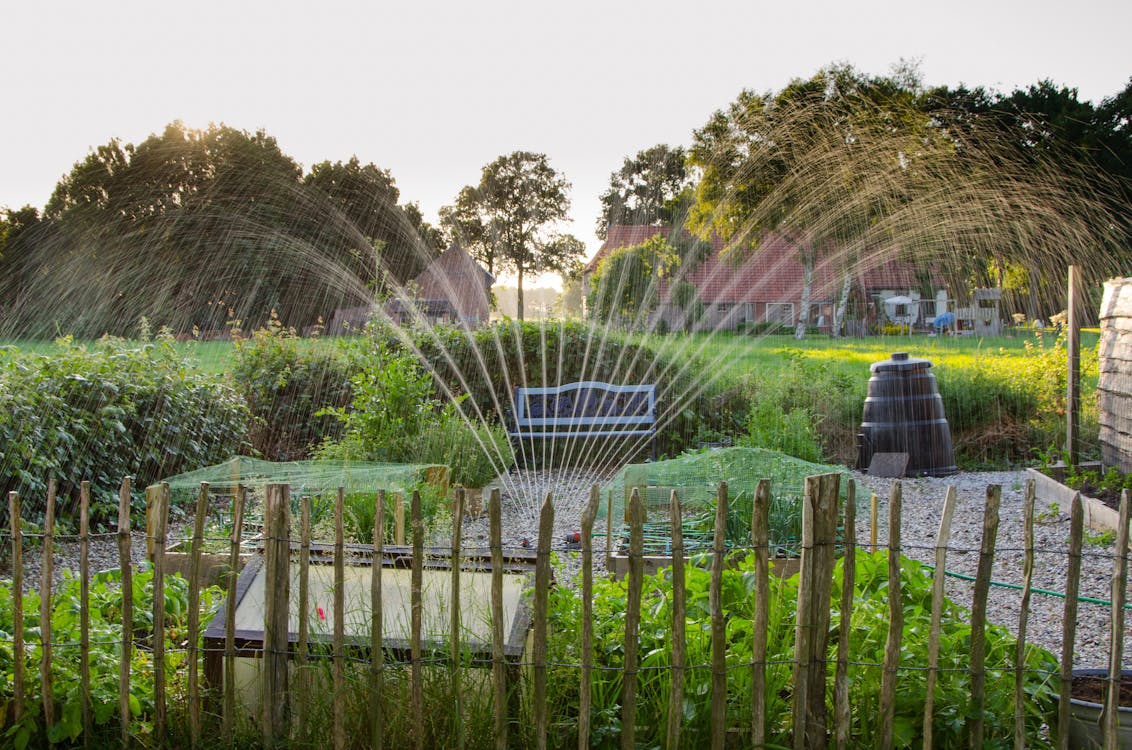
Sprinkler Repairs: How to Fix A Bad Lawn Sprinkler
As sprinkler systems age, the heads may splinter, break or get stuck in the elevated position, resulting in dead and swampy grass and exorbitant utility bills. If you encounter one of these problems, the simplest solution is to replace the worn head with a new one. Dig the lawn of 15-20 cm (6-8 inches) around the sprinkler enough to expose the fixture and unscrew the defective head. Next, screw the new head into place and turn on the sprinkler water so they can perform a quick test run.
Dig 6-8 inches (15-20 cm) into the soil surrounding the sprinkler head. Now that the grass is out of the way, use your trowel or shovel to remove the soil along the sides of the hole. Continue digging until you can see the thin metal supply pipe that connects the sprinkler head to the main water line.
Adjust the sprinkler nozzle to direct the spray pattern wherever you want. Rotate the sprinkler head until it points toward the grass, bushes or flower beds. The last thing you want is for your newly installed sprinkler to water your car instead of your plants!
Cut a circle of 15-20 cm (6-8 in.) On the lawn around the defective sprinkler. Take a serrated knife or a trowel and seal a wide circle around the exposed sprinkler head. All you want is to mark the grass to make it easier to remove later, so you only have to cut it 2 to 3 inches (5.1 to 7.6 cm) deep.
Rinse the open water line to clear the major jams. If your water line is clogged with dirt, you may need to rinse it further. Remove the new sprinkler head and turn on the water to the sprinkler for 30-60 seconds to let the water full of debris drain out of the open line. Do not forget to close the water when you finish.
Fill the hole around the sprinkler. Re-enter dirt into the opening around the waterline, making sure that it is evenly distributed around the base. Once you have returned all loose soil to the hole, crush it around the new sprinkler with the palm of your hand or the back of the shovel or paddle.
Buy a replacement sprinkler the same size as the old one. To make sure you are getting the type of head you need, take the old part to the store with you and buy the same brand and model. If for some reason that is not an option, confirm that the new head has the same total length and the same diameter as the previous one.
Remove intact grass around the sprinkler with a hand trowel. Do your best to mow the lawn in as few pieces as possible. Once you have released it, leave the grass aside somewhere nearby. This way, you can replace the section later after changing the sprinkler head.
Wrap a piece of thread sealant tape around the male end of the elevator. Wrap the tape tightly around the elevator wires to form a thin and even layer. The application of thread sealing tape (also known as “Teflon tape”) will fill the excess space between the elevator and the sprinkler head body, creating a tight connection and reducing the chances of future leakage.
Briefly turn on sprinklers to test them and remove dirt from the line. Let the sprinklers run for 30 seconds to a minute to ensure that all small particles of dirt and debris have been removed. Then, turn them off while preparing to fill the hole you dug. After a quick test, they will be ready to run in their regular cycle.
Unscrew the defective sprinkler head from the riser. The elevator is the small tube that connects the sprinkler to the waterline. The sprinkler head sits on the elevator, which helps regulate its movement up and down, rather than directly on the water line itself. To remove the sprinkler head, turn it counterclockwise or counterclockwise.
Replace the loose section of the lawn you cut before. If you have managed to remove the lawn in one piece, lower it into place around the new sprinkler head. Apply pressure on the grass by stepping on it or pressing the back of the blade against it to compact it.
Screw the new sprinkler head. Place the female end of the sprinkler head over the male end of the elevator and turn it clockwise (clockwise) to install. Continue to squeeze your head with your hand until you are firm and firm.
Luxury Landscaping Services
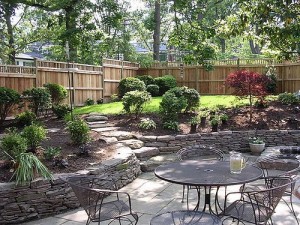
We provide the neat clean look. Some call it the picture perfect yard. If you want to save more money and get the best professional luxury landscaping service tab here (602-696-7675) to call us.
Recent Landscaping Posts
- How to Get Rid of Weeds, Slugs & Snails From Your Lawn August 10, 2019
- Sprinkler Repairs: How to Fix A Bad Lawn Sprinkler August 4, 2019
- Taking Care of Your Lawn in Summer July 26, 2019
- How to Hire A Great Landscaping Company in Phoenix, AZ July 20, 2019
- Watering Your Lawn: Why and How You Should Do It July 13, 2019
- How to Care for the Lawn in Summer July 6, 2019
- How to Help Your Lawn Survive An Outdoor Party this Summer June 29, 2019
- Why You Should Water Your Arizona Lawn More Often this Summer June 23, 2019
- Love Your New Home But Hate The Yard? These Landscpaing Tips Can Help December 23, 2017
- Read This If You Want To Make The Most Out Of Your Landscape December 23, 2017